Showing posts with label Software. Show all posts

Monday, 16 February 2015

Issues With The Footage

 When editing the footage I noticed that the footage from a certain camera was very lined and low quality. I first assumed I would have to disregard the footage on this camera so didn't use the clips, however upon upload to Vimeo, I noticed that clip wasn't lined like it was when editing, so assumed it was an issue just with the footage streamed through Final Cut Pro. I also noticed to clip on Vimeo wasn't in HD so selected the HD button and instantly it was back to the lined footage, so when it was played in HD it was lined, if it was no HD it was much better quality, as seen below.
Although hard to see in the picture, this is the footage in HD with the lines.

This is the footage not in HD so much smoother overall. 
Vimeo 
Final Cut Pro


The difference in quality is easier to see here, you can see just how lined the footage is in the picture directly from Final Cut Pro. Overall there is a slight improvement on quality from HD upload from Final Cut to Vimeo either way, but its only when the footage is played in Vimeo, not in HD that the footage is in the best quality.


I considered the cause of this and decided what probably happened, was the camera with this issue might have been filmed not in HD so when trying to play it in HD it isn't compatible with a HD stream, so when played not in HD do you see the accurate representation of the camera quality.


Thursday, 5 February 2015

Colour Correction

Using colour balance setting I changed the
exposure, brightness, contrast and colour
tones to the footage. I saved this 'present' so
I could later apply it to all of the clips. 
The original footage was quite lit and bright, which isn't conventional of
music video for a heavy metal band. 


I had to basically match the colour of the footage to the colour of the worst quality camera. The worst camera had a kind of green tone to the footage, I did actually quite like this look as it further added to the dystopian effect I was looking for. This was want my final set 'present' looks like on one clip. 


Although I added the same 'Present' to all the clips, due to changes in light and camera quality and other factors I couldn't control it didn't always look the same across all footage. 

So using the colour balance tool again I made slight changes to the 'present'. You can see on this footage of the drummer, is very, very green once the present was added to it. 


So to counteract the green tones on the original footage, I added some pink tones as they are opposites on the colour wheel, so counter balance the green tones. 


I originally wanted to keep the scenes outside the original colours and brightness, however after watching the footage with the inside of the 'studio' matched with the scenes outside it was too much of change in colour. So reduced the exposure and brightness of the clips, so it was still lighter than inside the studio but not as light as the original.

The footage inside the studio gets steadily darker as well, as I wanted to impose the idea of the zombies bringing in the darkness so for that idea to be consistent, the zombies need to have the darkness outside which they bring in with them as they enter the studio.

Saturday, 20 December 2014

The Shoot On Saturday 20th


On Saturday 20th was my final shoot for the music video and this is what I took with me. I was staying at a friends so took my laptop to do work on the footage when I got to his. I also took the final cut pro handbook we were given to help me with the editing, I also took four packs of face wipes, a white face paint pot, all my SD cards just in case, my camera dies, face sponges and also the two cameras I borrowed from school and then I also borrowed one from my friend. All the cameras other than my Canon were taken to my friends before the shoot to prevent me having to take so much stuff on the day of the shoot (hence why not in the picture). I also took two full length tripods and my gorilla-pod. Although I had access to four tripods I knew I wanted to use my own Canon as the main camera, and the other cameras as back up. So the majority of the time I was only using 3 cameras so didn't need three tripods, and held the Canon by hand. 

It turned out that my make-up artist had lots of face wipes and face paint so we hardly used any of my make up and wipes. 

I am aware that the quality of the cameras will be different, but I do think this will add a nice effect to the video. I don't want it to be 'perfect' like some music videos, but instead have a more grunge feel to it all. The change in quality of the cameras will assist to add this grunge feel to the video. 


add reflection - why this list / was it enough / did you use it all. also have you got on location shots?


Wednesday, 29 October 2014

Further Problems with iMovie

Our school technician has spent a lot of time recently trying to get our versions of Final Cut to work. When we started our lesson this week, we believed that the version was working as I was no able to import my files. However, upon playing back the video I had put together I discovered it wasn't working.

For some files, when I play the videos there is video but not proper audio; only a beeping sound. And other file types would also have a beeping as the audio and just display an image in place of the actually visuals, saying 'unrendered'.

We got the technical to come and have a look at the program to see if they could help, he said that there was an issue with the program and the files were not being sorted in the correct folders from the program, so until he can fix this issue, the program wont work.

However, the school is considering getting the new version of Final Cut bought and installed onto the Macs.

Wednesday, 10 September 2014

Attempting to use iMovie to create a Music Video

Over the summer holidays I wanted to film to create a practice music video, to explore how I create a video that cuts between different shots and angles, in an interesting and coherent way. However I found it very, very difficult to do this. It was not easy at all to create a video that cuts between shots. On programs like Final Cut, you have the ability to layer video over the top of other videos, in different section, giving you the ability to play either one, more, or all videos. This means that to create a video that flows from shot to shot is very easy. You simply line the videos up to start at the same point, then cut out section of all the videos, bar one to leave just one shot.

Practice video from morrighan humpleby on Vimeo.
(please make sure you keep it quite at the beginning as there was a sound issue, causing the end section to be incredibly loud)

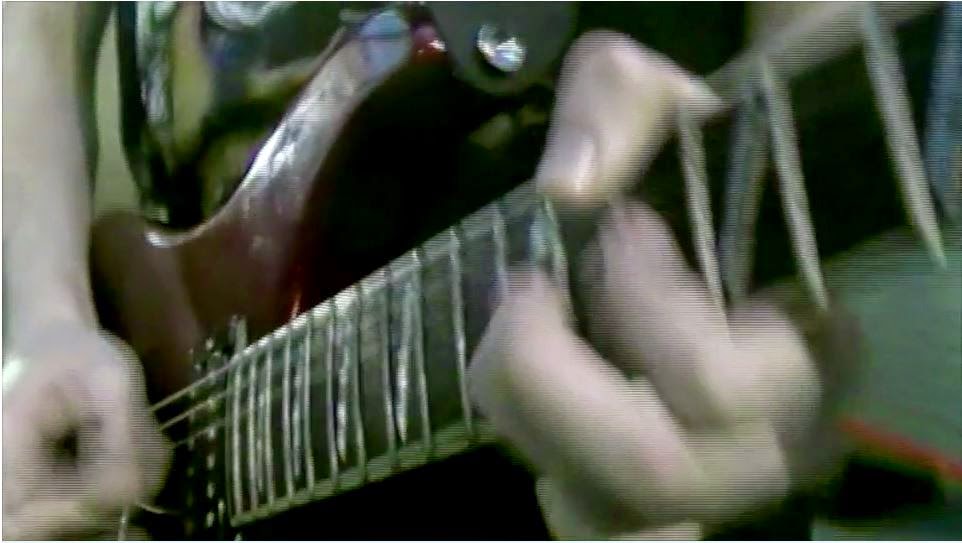
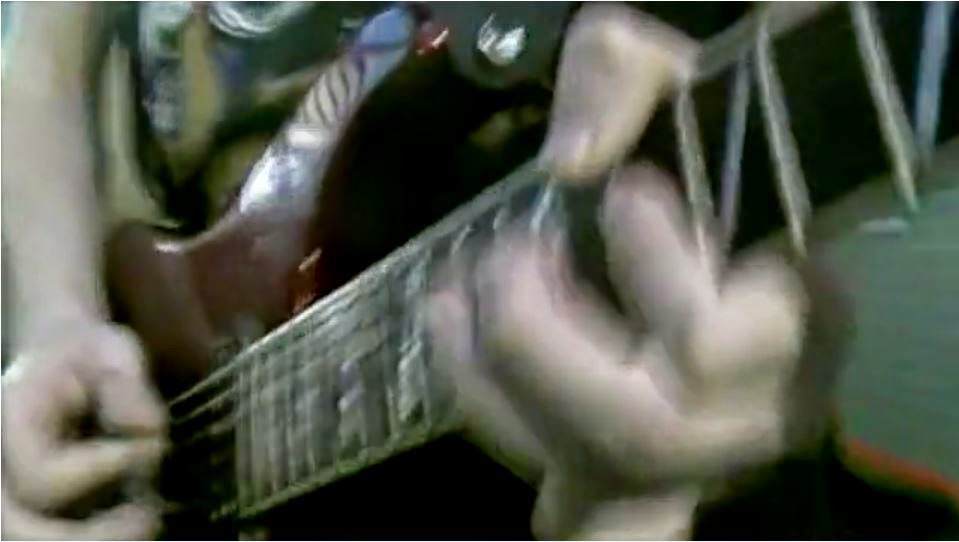
Here is the video of my first attempt at creating the music video. It isn't even a minute long, yet to create that it took me nearly an hour. The only way I could create the video, was try to cut all the shots to start at the beginning of the song, and cut each interval at the same size. So I cut all the shots of the song, to 13s, then 9.2s, 3.5s etc, and then cut the section together from different shots. [INSERT SCREENSHOTS OF THE PROCESS, AND THE VIDEOS CUT INTO DIFFERENT SECOND INTERVALS] As you can see, it was very hard to make it coherent, and flow from one shot to another.

Our media classroom has four licenses to Final Cut. Next lesson I will try to create the video using Final Cut, too see how I find that. I will then do a comparison between the two.

Monday, 1 September 2014

Split Screen

Here is a video I found looking into how to create a split screen in Final Cut Pro X, this isn't the software we have, we have the older version Final Cut Express, but the information is still valid and helpful to some extent.

Saturday, 9 August 2014

iMovie- Split Screen Effect


Below is three images where 'split screen effect' has been used, and demonstrates how I could use it in my work.


When thinking of ideas for my music video, I knew I wanted to push myself and the skills I have, but also I wanted to create a very interesting music video that wasn't just standard shots. One idea for how I wanted to achieve this was to have a split screen at points, so you can see more than one of the band member's at any point.

Below is a video I found helping you to create that effect, and showing one way you can create it.


The pictures above don't all show what I really want my work to look like, but it gives you an idea of the way it can look.

Here is also a few music videos that use split screens;


In year 10 I created an animatic for an AC/DC music video, and I used the effects of split screens, and below I will embed the final animatic, which is very close to the thing I am going for.

Helpful videos

I have come across lots of videos helping you to create music videos, on any buget, I will list them below and explain how they were helpful.


It has a lot of simple but important and effect tips, such as considering continuity and camera angels. It also briefly goes into the basics of Adobe Premier.


This is a much more professional and helpful video. It has more detailed description of what they did, but also tips I wouldn't have considered, such as a countdown to the start of the music, to allow syncing footage and sound easier. Also, it went into detail about a very important and helpful part of the filming process. My current idea for my music video is to film the band, which is what they did in the youtube video. He said the way he achieved that was to focus on filming each band member through each run of the track, then move to the next band member. They also include a back story to the music video, another idea I want for my music video. It was helpful to see how they edited the footage together, from the back story to the band. He said all he did was create the full music video from just the band, then cut and add in the back story. And here is the final video, I think it is very good, and is pretty much what I want my music video to look like, but obviously I will have a much lower budget than the people who made this. 

This video make it look like it is very easy, however there could be a lot more barriers when I create my own video; more than the directors/producers of this video.

Such as;

  • My production budget is very small
  • I'm limited on location spaces
  • The quality of my equipment isn't as good
  • Finding actors/bit parts could prove to be difficult