I have now created my final Digipak for the band as one of my ancillary products. The following four pictures are pictures of exactly what I printed, all to scale. 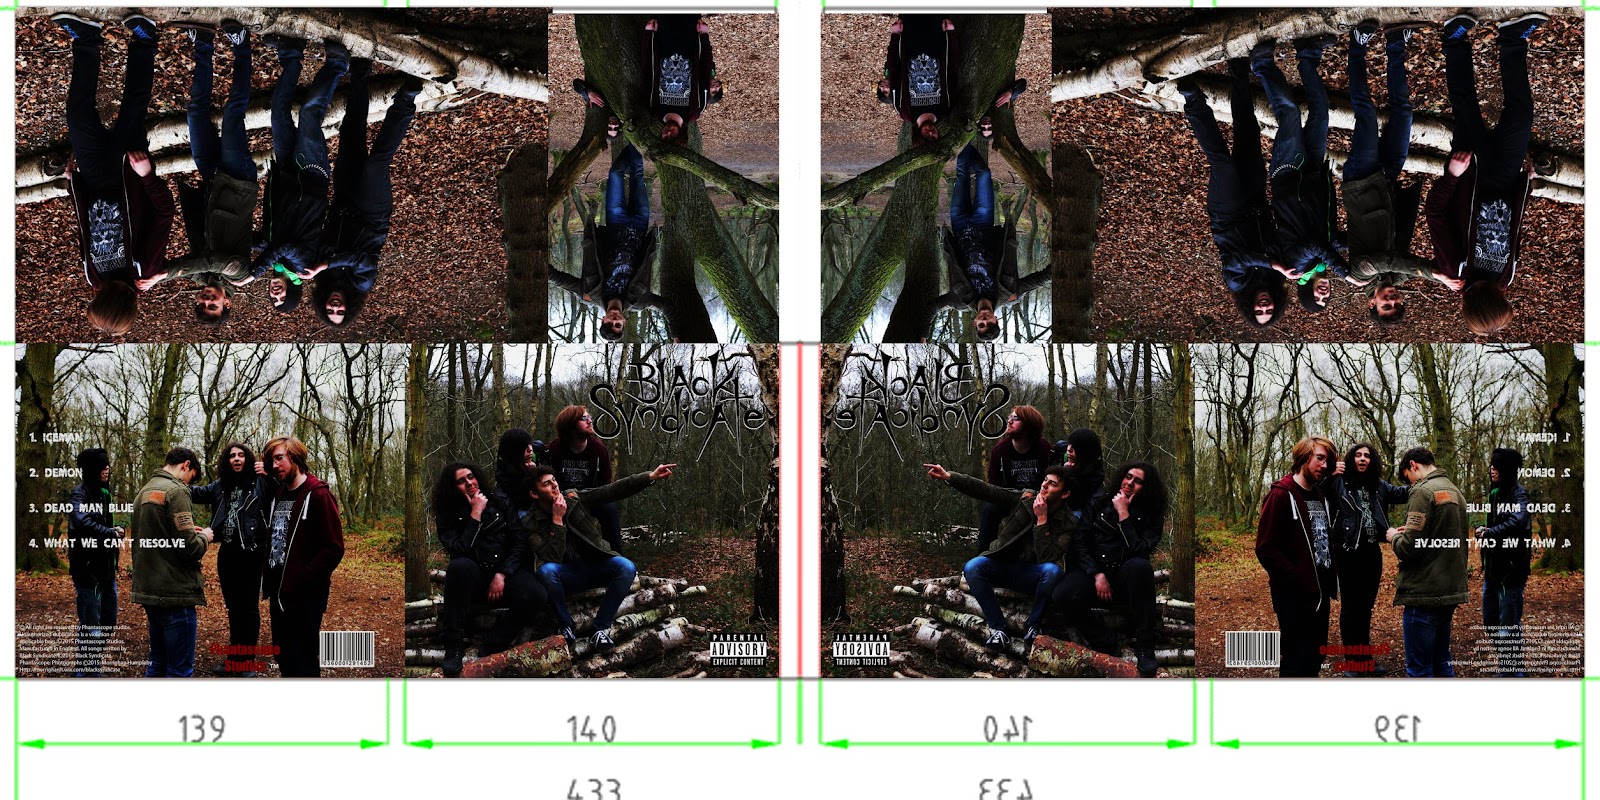


The following pictures depict what I did to create the CD case and its linear notes.
 |
| I folded the individual sheets for the linear notes along the spine, layed then in the correct place, to construct the right order. I then used spray mount to glue them together. I glued two halves together and then glued the front and back cover sheet onto the remaining two empty faces of the linear notes, to create the finished version. I then used a linear rotary cutter to cut off the excess paper. |


To resolve the issue of the visable tabs, I was unable to find a perfect solution, but what I did worked to a much better standard than the previous version of my digipak. I cut the tabs a lot smaller, and glued them to one side of the sleeve so they were more hidden and discreet.
No comments:
Post a Comment